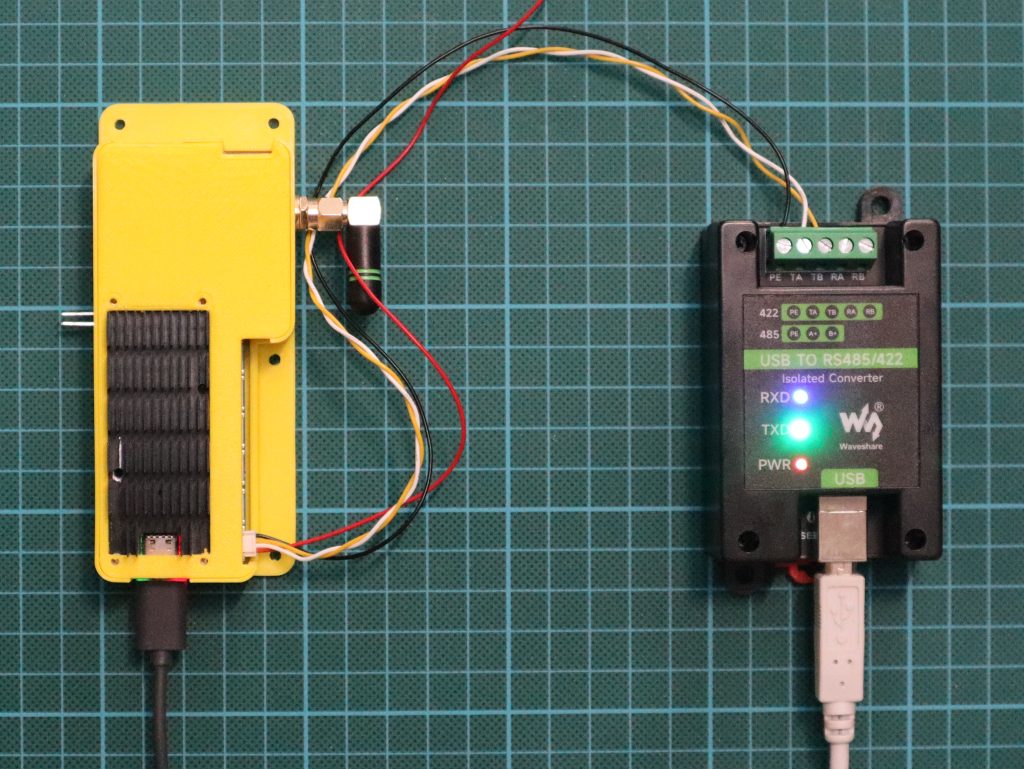
Pika Spark exchanging data via RS485 w/ an USB-RS485 converter
On the Pika Spark the RS485A interface is exposed as /dev/ttymxc1 which - using device-tree magic - is automatically configured as RS485 interface during Linux boot-up. In order to transmit or receive data via this tty interface various utility programs exist - We will be using minicom during this tutorial. Since this package is not per-default installed on the Arduino Portenta X8s image we need to create a Dockerfile that contains these tools.
FROM alpine:3.18
RUN apk add minicom
COPY minirc.dfl /etc/minirc.dfl
The entry in the last line of the Dockerfile is used to store a minicom configuration file within the image which directly configures the communication tools' RS485 options.
pu rtscts           No
pu rs485en          Yes
pu rs485rtsonsnd    Yes
In the next step a Docker image is built from the Dockerfile using docker build.
docker build --pull --no-cache --tag pika_spark_rs485a_minicom .
Next we need to grant read/write access to the RS485A interface for our newly created Docker container. This is simply done by granting +rw access for all users, groups and others ugo. Note: a better solution would be to add our own user to the group that owns the /dev/ttymxc1 interface.
sudo chmod ugo+rw /dev/ttymxc1
As a final step run (docker run) the newly created pika_spark_rs485a_minicom container passing the RS485A tty interface via --device /dev/ttymxc1 as well as the baudrate via -b 115200 in order to execute minicom in an interactive shell inside the container.
Receive and transmit data via RS485
Todo ...
TL;DR:
In order to simplify trying out those examples for both receiving and transmitting data via Pika Spark's galvanically isolated RS485 interfaces ready-made bash scripts with integrated error handling and convenience features have been prepared.
git clone https://github.com/pika-spark/pika-spark-containers
cd pika-spark-containers/rs485a-minicom
./docker-build.sh
sudo ./docker-run.sh [baudrate]
All the best communication via RS485A on your Pika Spark!